


Practice smarter
Some folks spend lots of time practicing piano or other instruments every day, while others do shorter sessions, like 20 minutes a few times a week.
But does practicing longer mean you’ll get better faster? Not really. It’s not just about how long you practice, but how smart you practice. Many great musicians know this secret—they practice efficiently and focus.
Learning how to practice piano is like an art, and it’s important to do it right. Here are some helpful piano practice tips to make your piano practice sessions count:
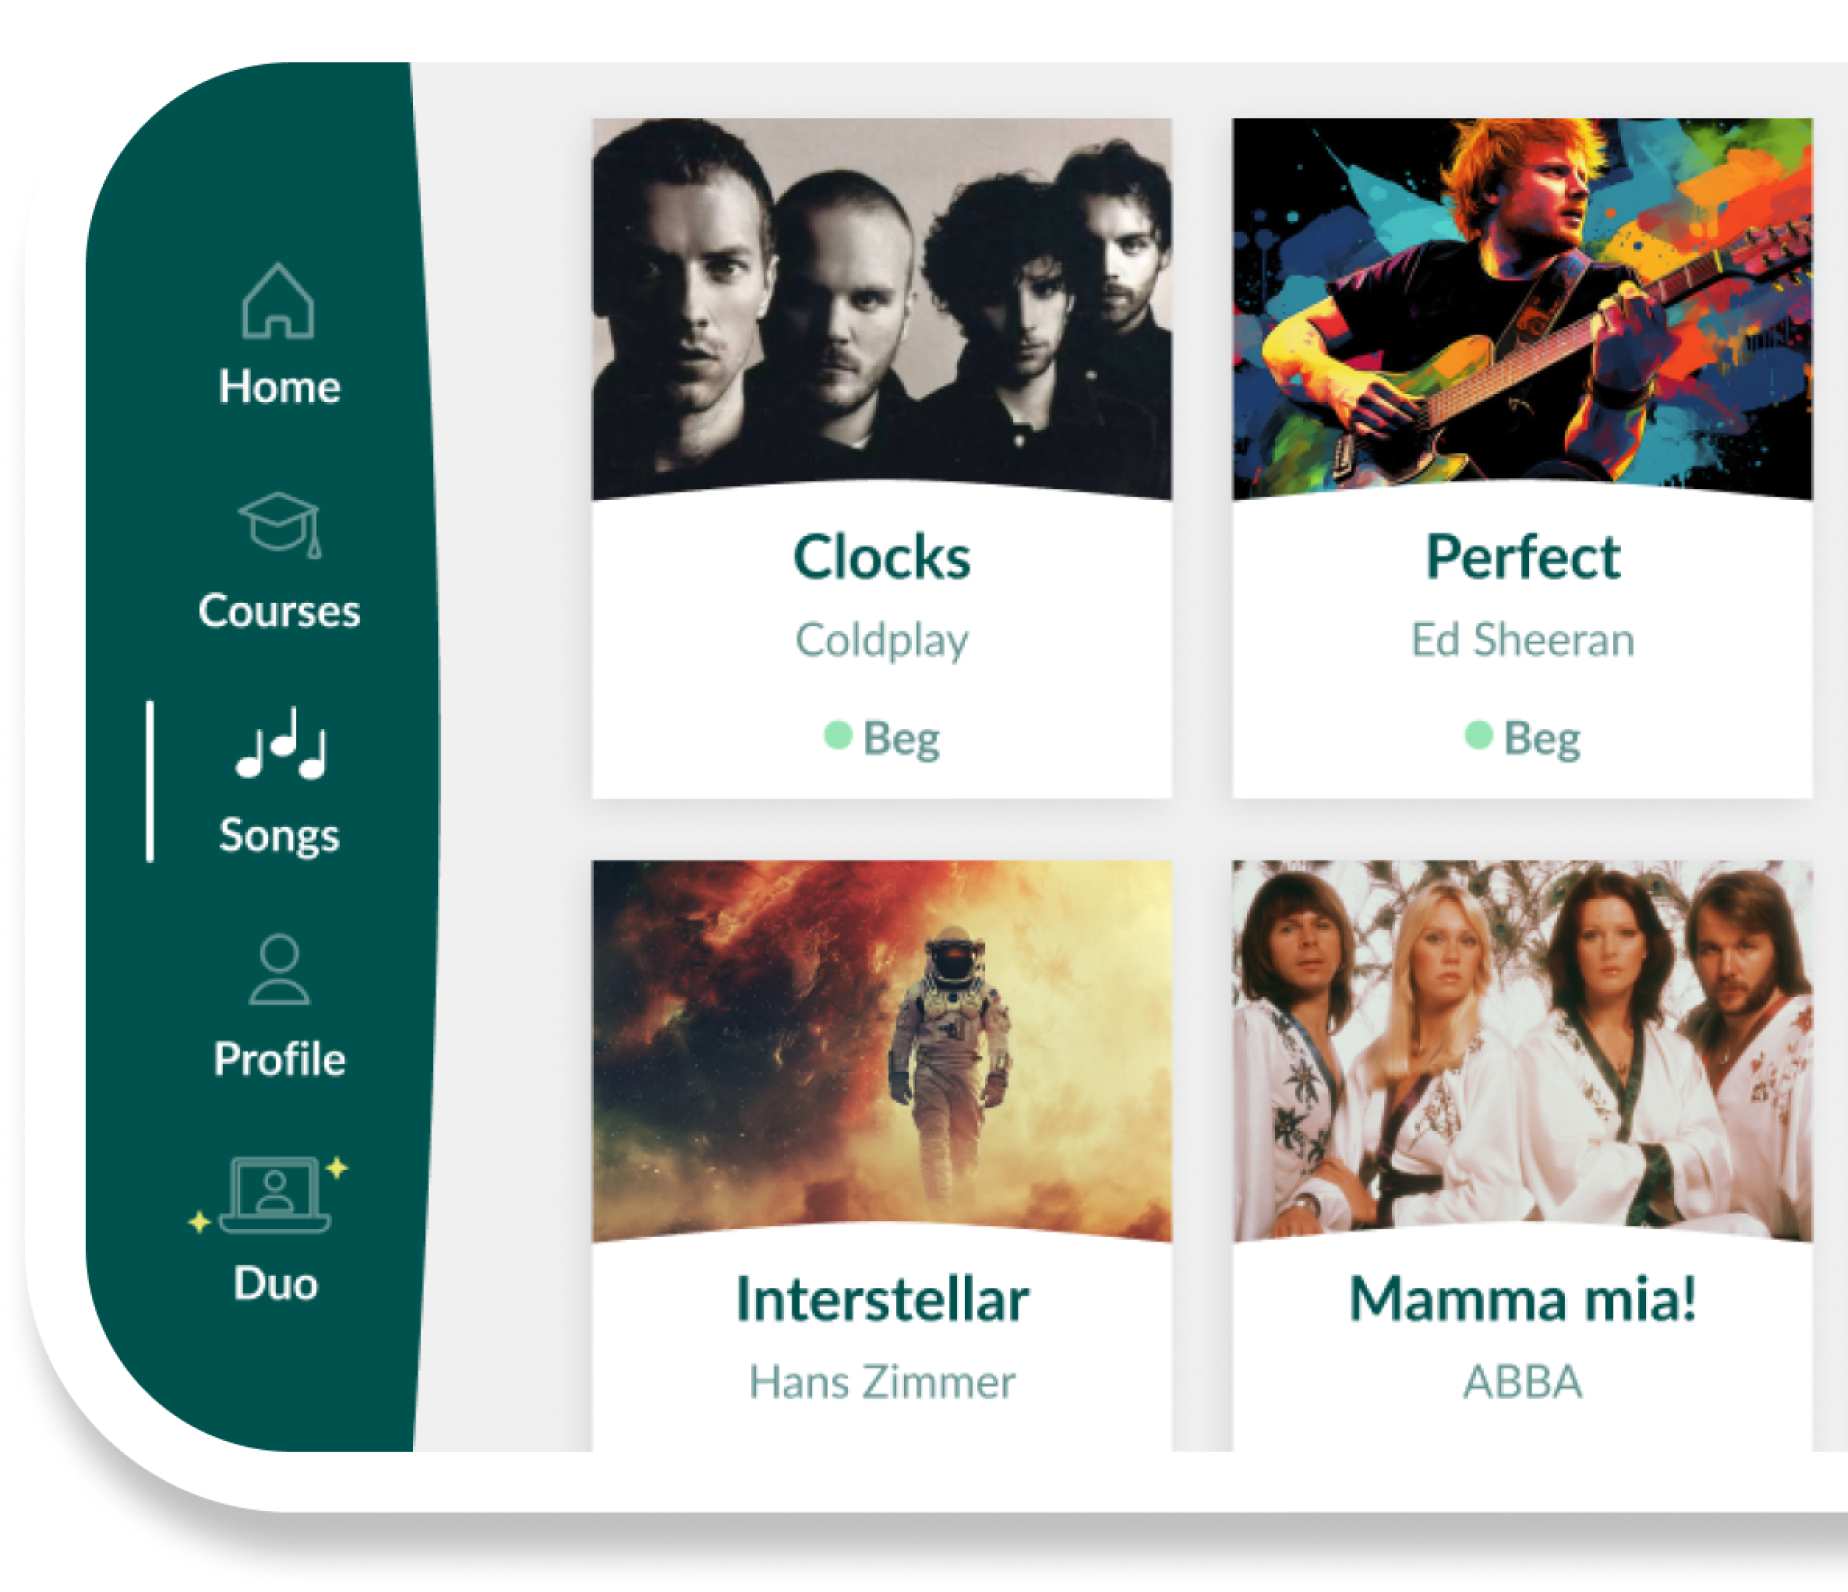
- Fall in love with the music - Learn your favorite songs, at a level suitable for you.
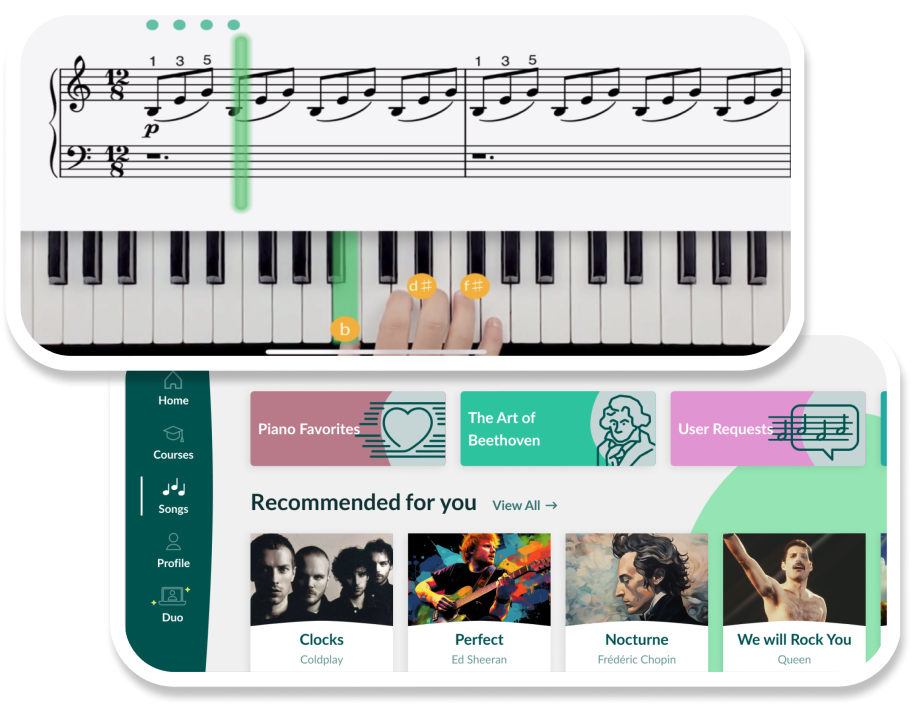
- Enjoy interactive piano lessons - Explore courses covering music theory, technique chords & more.
- Get real-time feedback - Skoove's feedback tells you what went well and what needs practice.
Set a goal for your piano practice session
Before you start practicing piano, it’s essential to know what you want to achieve. Decide on a goal for your session. This could include:
- Playing the right-hand melody accurately and in time.
- Getting your hands to work together smoothly. Here are a few ways to improve hand coordination.
- Learning the keys and recognizing notes on the treble and bass clefs.
- Memorizing the first of an easy piano song.
- Playing a bit faster than usual.
Setting a clear goal for each practice session helps you avoid wasting time and stay focused on making progress.
Have a warm-up routine
No professional athlete will start a practice session without a warm-up. The same goes for pianists. It is important for you to have a piano practice routine to get your fingers and your head warmed up.
If you’re just starting, try“It Takes Five”. A great starting point for your right-hand warm-up.
Every time you start playing the piano, spend a few minutes warming up with familiar material. Keep it simple, nothing too challenging or new—just something you’re comfortable playing without straining your fingers.
Warming up isn’t just about your fingers; it’s also about getting into the right mindset. While warming up, relax your body and mind, and get into the “practice mode” by concentrating and staying focused.
Discover our suggested warm-up exercises for beginners.
Break down your task
Now that you’ve decided on your goal and warmed up, take a moment to plan how you’ll practice piano.
- Break it down into small, manageable pieces.
- Step by step, focus on one small part at a time.
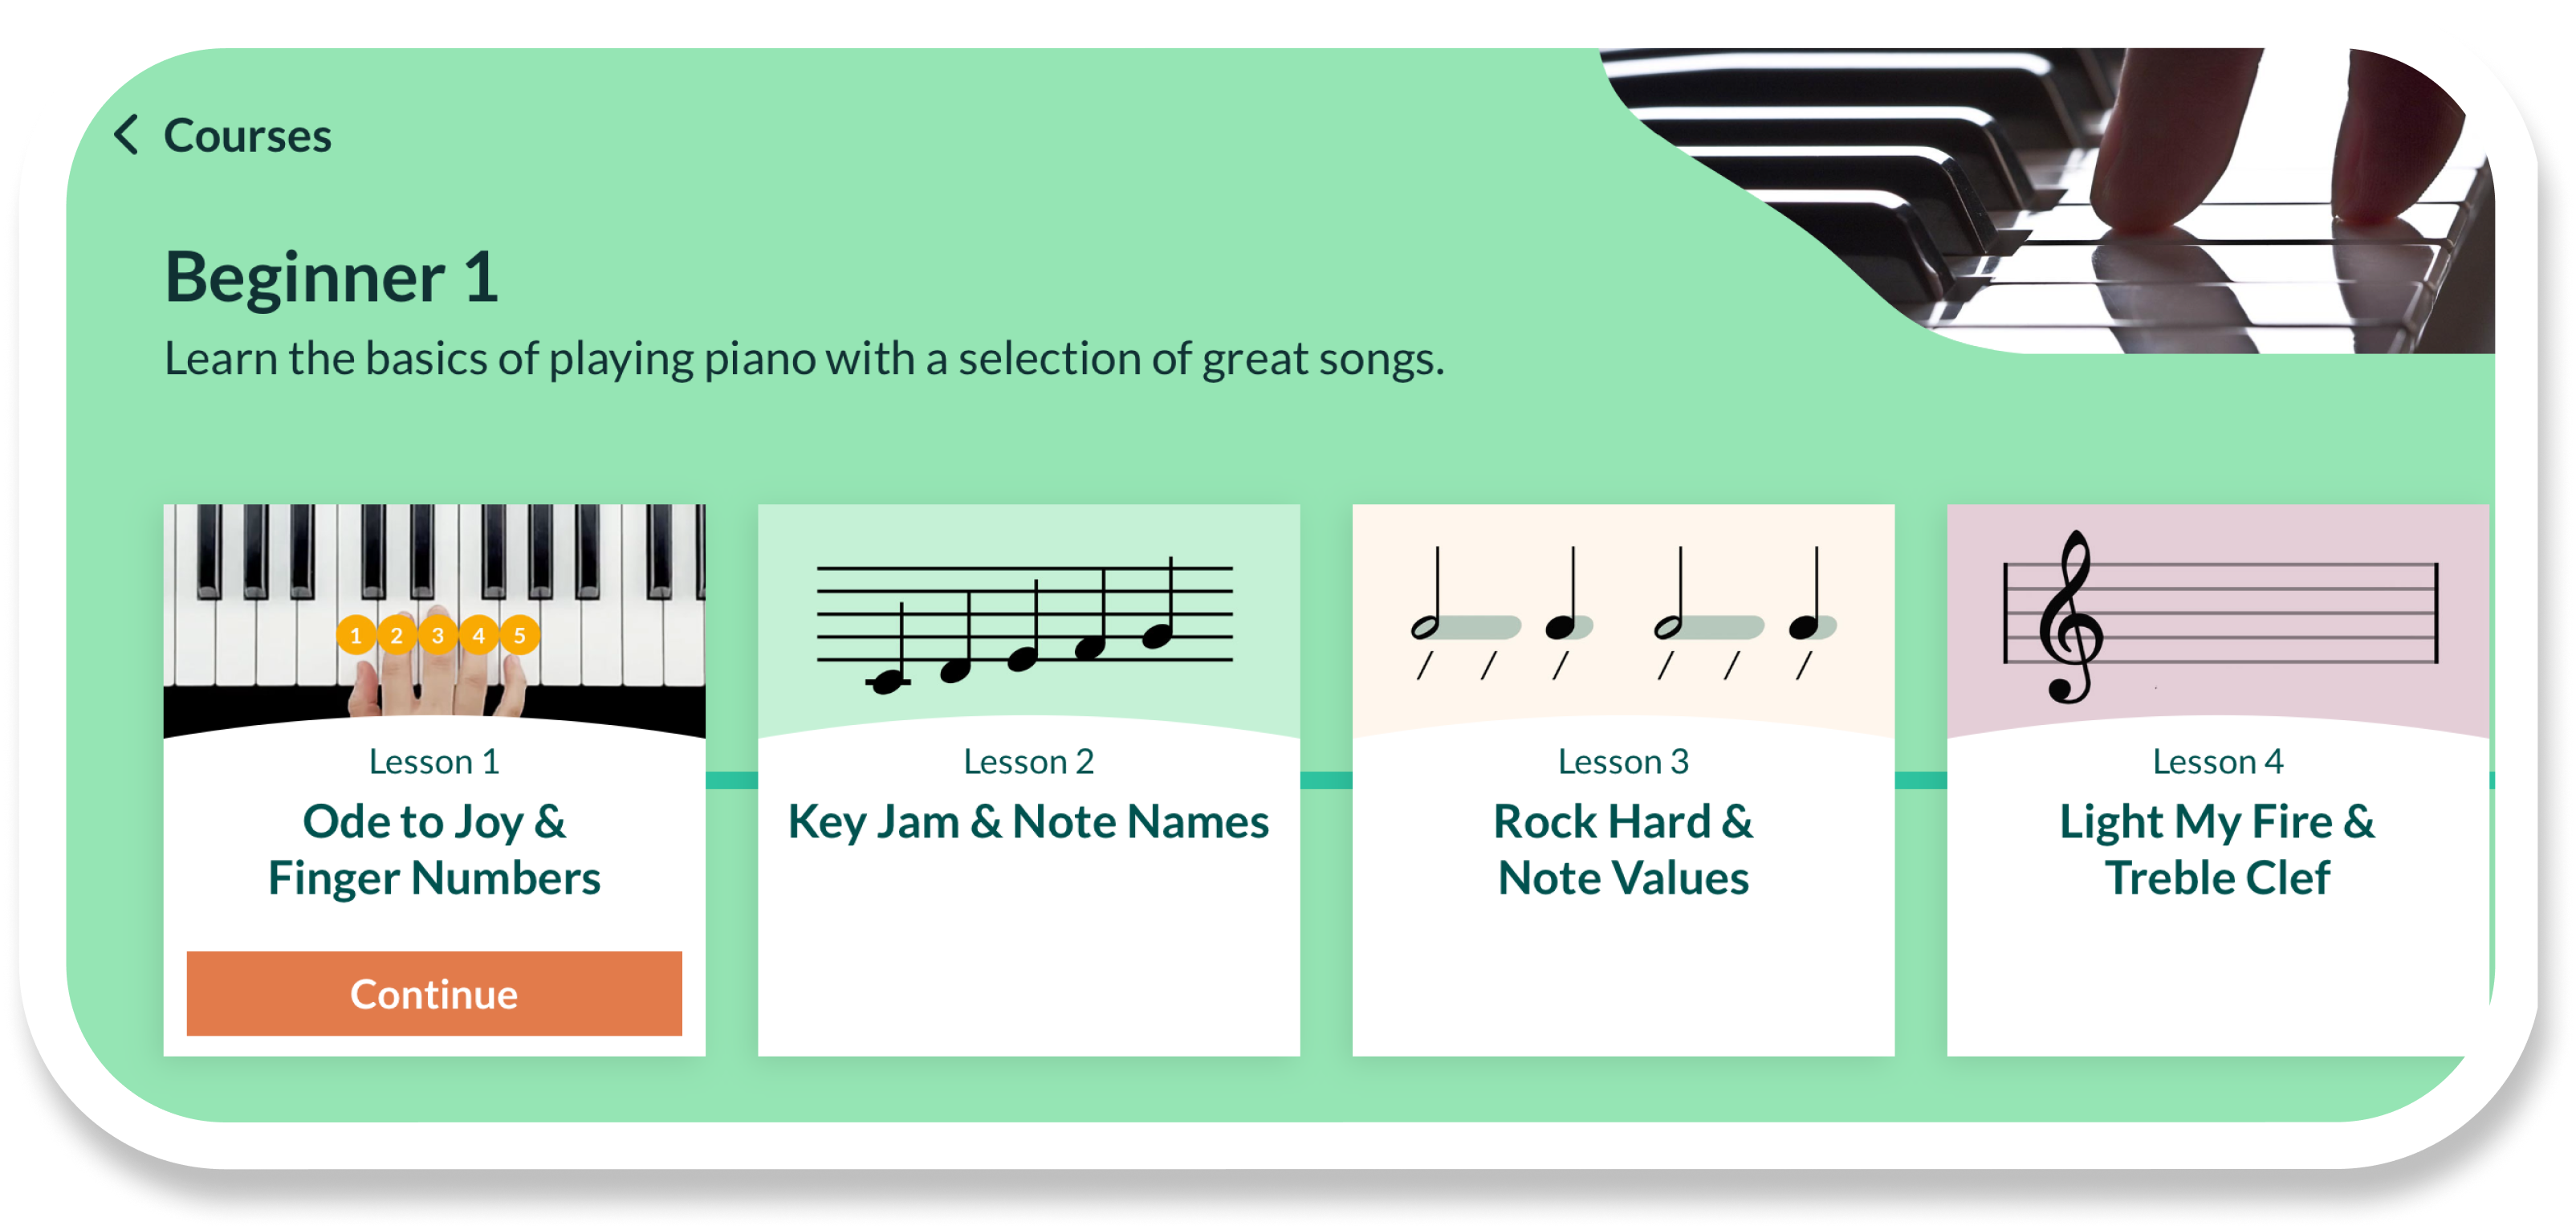
Using a piano learning app like Skoove, each lesson is well-organized and divided into smaller steps. This approach is the most effective way to reach your goal. However, sometimes you might need to break it down even further.
For instance, instead of practicing four bars of melody, try the piano practice technique of focusing on just one bar at a time.
- Mentally mark where you’ll start and stop, and practice that section until you can play it smoothly.
- Once you feel comfortable with the first part, move on to the next small section.
- Then, combine the parts gradually until you can play the entire piece effortlessly.
Practice slowly
To avoid mistakes, focus on feeding your brain the correct information. This helps with brain synapses consolidation, making it easier to remember.
- Practicing piano notes too quickly increases the likelihood of errors, making it harder to learn the song. Your fingers need time to learn the correct movements.
- Practicing slowly helps you feel relaxed, reduces pressure, and allows you to internalize finger movements more quickly.
- Taking your time also aids in learning the melody as a musical expression rather than just a mechanical task. So, slow down and give yourself the time you need, especially if the music has a hard time signature.
Limit your time and get some sleep
The key to effective practice is staying focused and concentrated. Concentration typically lasts up to about 45 minutes per session before needing a break:
- If you’re a beginner, start with 20-minute practice sessions. This duration allows for concentrated learning and significant progress each day. Your brain will continue to strengthen synapses even after practice.
- Pay attention to your concentration levels and limit your practice accordingly. If you can only maintain high focus for 20 minutes, stick to that timeframe.
- If your practice session extends beyond 20 minutes, be sure to take a break halfway through to recharge.
Aim toward your goal
When you set a goal for each piano practice session, you want to achieve it by the end of your session. It also means you need to set a realistic goal that you can achieve.
You will get better at setting the right goal with time, and be able to anticipate the time and skills required to achieve it.
Each practice session should aim toward a higher goal – but not too high! Learn to make small progress each time.
Appreciate your progress
Once you get used to practicing with a clear structure as described in this blog post, you’ll feel more confident as you finish each session with goals being achieved.
Ending your practice session with a good feeling is very important. Therefore, notice your progress and appreciate it as you learn how to play piano!
It may sound funny, but you shouldn’t underestimate the power of feeling good. Practicing should be fun and enjoyable, and a big part of that comes from knowing that you’ve achieved something, however small the progress may be.
Make a note for the next piano practice session
Before you leave the piano, make a note for yourself for the next practice session:
- Write down what you’ve achieved and what you want to practice next.
- Some students keep a log, and some will just take a mental note.
However you do it, know what you’ve done and what the next step is.
What other pianists say
In the Reddit, a beginner pianist asked about some tips on how to practice efficiently. Some responses included:
Some responses included:
- Inspect the piece and define all the expressive elements in it.
- Define the character of the movement of the piece.
- Start every practice session with a goal, something to be achieved.
- Eliminate unnecessary elements and focus on things that immediately need to be improved.
Organized practice makes perfect
The bottom line for practicing is to be well organized and structured with clear goals, while making sure you make small steps and internalize each step firmly before moving on. Doing it with a limited amount of time and with concentration, is the key to success!
If you didn’t hit your goal then consider the following:
- Practice even slower!
- Practice a smaller portion next time
- Re-consider if the material is too difficult
It’s okay to practice the same material over a few sessions, and sometimes it’s necessary. Even then, set a different goal each time.
At Skoove, we emphasize the importance of effective learning and practicing, and you’ll find that each lesson is already well-structured for you. Combined with tips in this blog post, you’ll accelerate your progress on playing the piano.
Try out your free trial of Skoove today!
Author of this blog post:
Eddie Bond

Eddie Bond is a multi-instrumentalist performer, composer, and music instructor currently based in Seattle, Washington USA. He has performed extensively in the US, Canada, Argentina, and China, released over 40 albums, and has over a decade experience working with music students of all ages and ability levels.
")