


Interesting fact
The “Chopsticks” piano song wasn’t always called “Chopsticks”. When it was first published in 1877, it was named “The Celebrated Chop Waltz” and was written by a 16-year-old British composer, Euphemia Allen. She used the pen name Arthur de Lulli, and this ended up being the only piece she ever published.
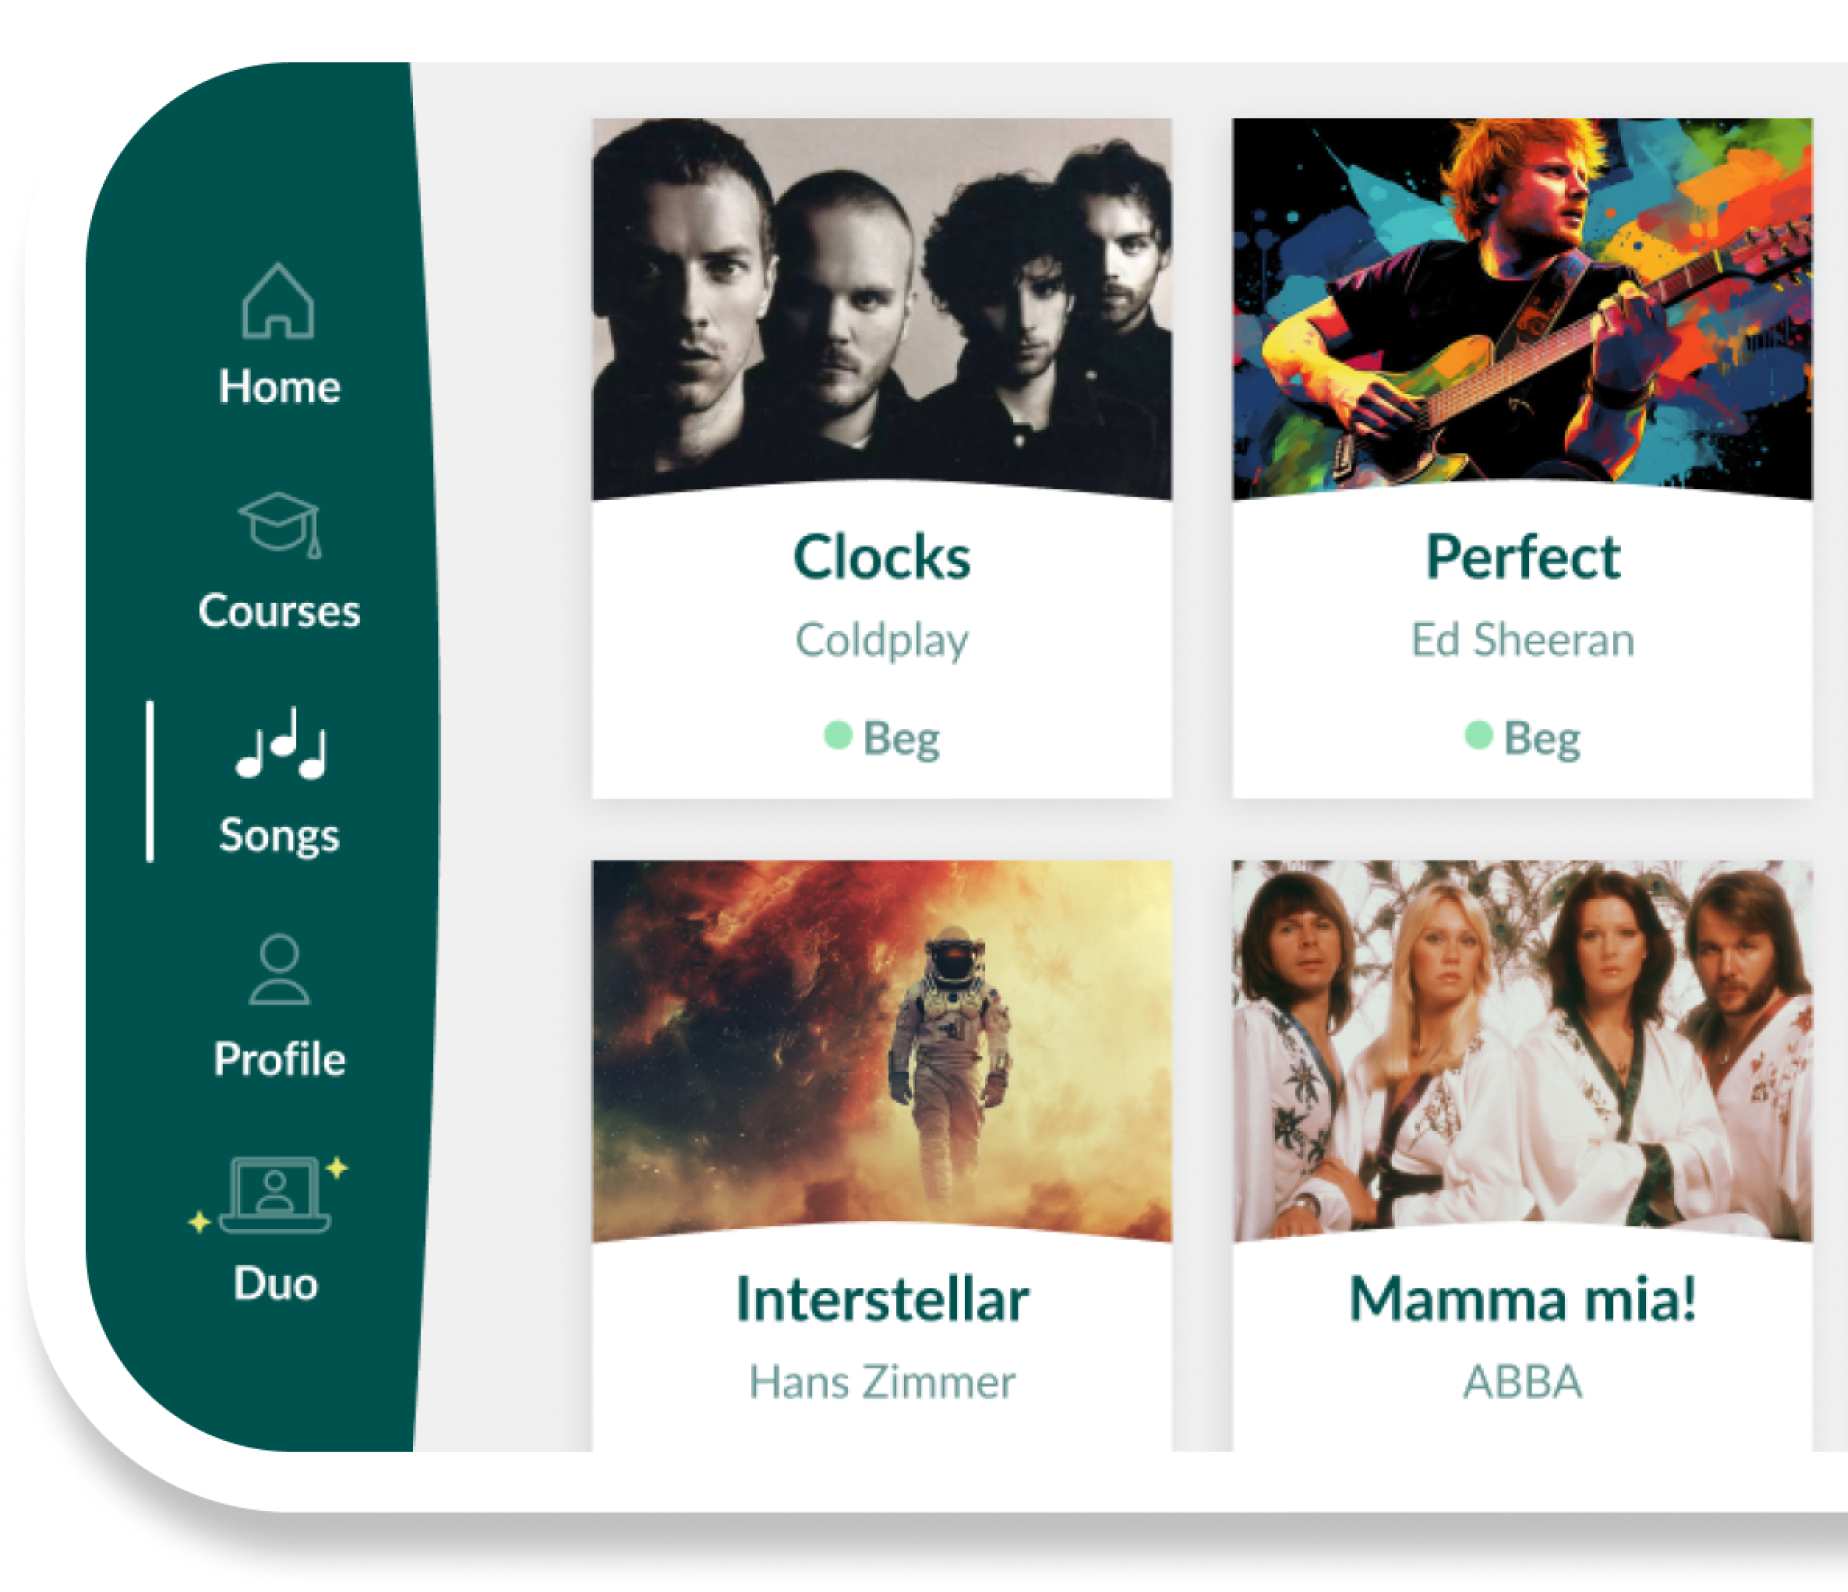
The “Chopsticks” piano song is short, catchy, and built from just a few repeating notes. At Skoove, we love playing “Chopsticks” with beginners because it keeps your hands close to the middle of the keyboard and simple and the repeating pattern helps you build a steady sense of rhythm. “Chopsticks” works well for adults, parents and kids learning together at home. In this step-by-step guide, we’ll show you the notes and keys you need, a clear pattern you can follow to play the whole song and simple practice ideas to make it sound smooth and confident. Let’s get going!
Video tutorial
Want to learn how to play “Chopsticks” on the piano? In this video, we’ll guide you through:
- The starting “Chopsticks” piano keys
- The simple two-finger pattern you’ll repeat
- How both hands move together
Find the full beginner arrangement of “Chopsticks” by Euphemia Allen on piano. Start a free trial today!
“Chopsticks” piano notes and keys: your step-by-step guide
In this part, we’ll keep things very simple. You’ll learn:
- Which “Chopsticks” piano keys you need
- How to place your fingers
- A step-by-step pattern you can repeat to play the whole “Chopsticks” piano song
Let’s have a look at what each hand will be playing and where.
Step 1 – find the right place/notes on the keyboard
First, let’s find the area where you’ll play.
- Look for the group of two black keys near the middle of your piano.
- The white key just to the left of that group is called middle C.
- The white key two to the left (to the left of the pair of the two black keys) of that is your starting note, along with the next white key along the F.
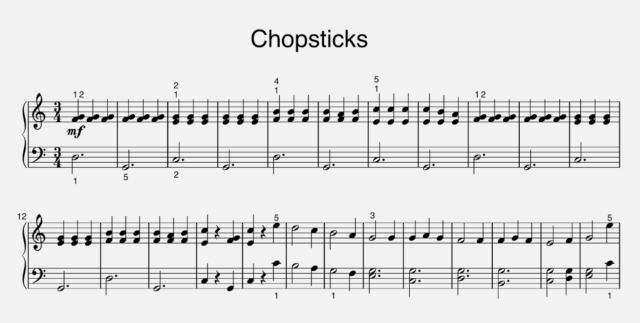
Step 2 – hand position and finger numbers
We’ll use the thumb (1) and index fingers (finger 2). This feels natural for kids and adults.
- Right hand
- Put your thumb (1) on E index finger (2) on F.
- Left hand
- Put your thumb (1) on D (the white key to between the two black keys)
This is the starting position for the whole tune.
Step 3 – learn the basic rhythm
Now we’ll learn the first tiny pattern. Your hands will take turns:
- Play E and F with your right hand
- Then play D with your left hand
- Repeat: Together E, F and D then just the right hand E and F together twice. This should make an ‘um’ ‘pa’ ‘pa’ rhythm. This pattern repeats most of the way through the song.
Count “1–2–3–2–1–3” as you go. “Chopsticks” is a waltz written with a 3/4 time signature. This means that each measure has 3 beats.
Step 4 – turn it into real music
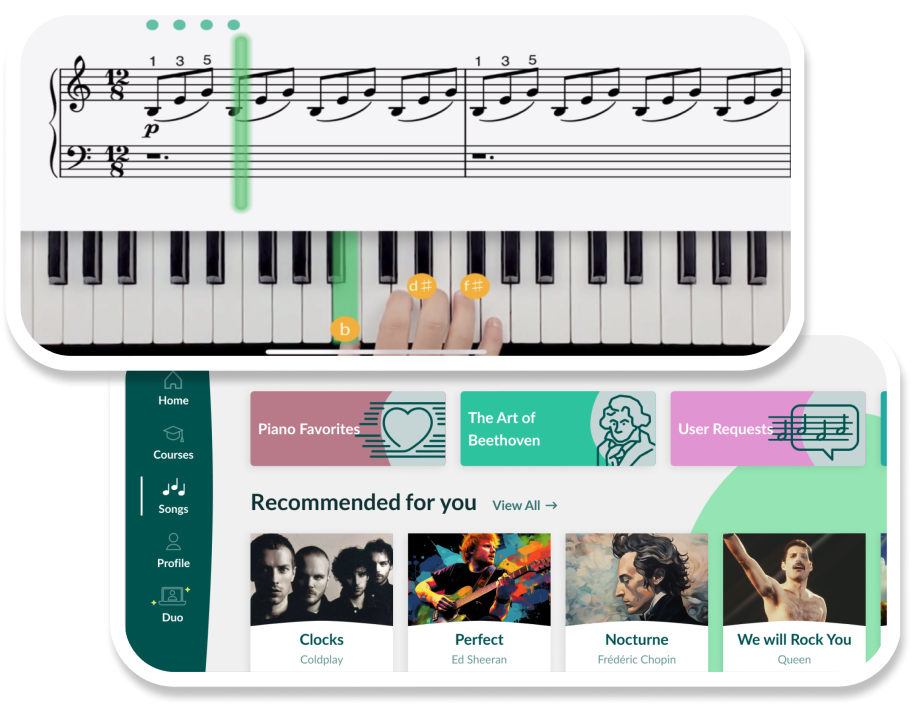
Now you can make it sound like the “Chopsticks” piano song, not just an exercise. To get a more in depth walkthrough of this song be sure to check out the Skoove app.
How to practice “Chopsticks” on piano?
Now that you know the basic pattern of the “Chopsticks” piano song, the real magic comes from how you practice it. You don’t need long, serious practice sessions. Short, playful moments at the piano are enough to make your “Chopsticks” piano sound smoother every day.
Here is a simple lesson plan from Skoove that will help you during your learning.
Step 1: listen to the opening verse
Take a moment to listen to the “Chopsticks” all the way through. Pay attention to the steady, calming feel of the song and how the rhythm goes.
Step 2: practice the “Chopsticks” chords
Start by playing the right hand chords used in the first lines of the song.
Step 3: learn the left hand accompaniment pattern
Once you’re comfortable with the melody, it’s time to bring in the left hand. Start with the basic accompaniment pattern by playing one bass note per chord.
Step 4: play both hands together
Once you’ve practiced the melody and the left-hand accompaniment separately, it’s time to bring them together. Don’t rush, take it slow and let the song flow naturally. Inside the Skoove app, you can loop small sections, slow the tempo and get real-time feedback to help both hands lock together comfortably.
What’s next? Learn with Skoove
You found the keys, built the pattern, kept your hands moving together, and turned a simple idea into something you can share with your kids, your family or just enjoy on your own. That’s exactly how we like to teach at Skoove: one clear, friendly step at a time, until the piano starts to feel like home. If you’re ready to turn this first win into many more, open the Skoove app, find the “Chopsticks” lesson, and let us guide you through your next songs with interactive practice, real-time feedback, and a whole library of music waiting for you.
Author of this blog post:
Susana Pérez Posada

With over seven years in piano education and a deep passion for music therapy, Susana brings a unique blend of expertise to Skoove. A graduate in Music Therapy from SRH Hochschule Heidelberg and an experienced classical pianist from Universidad EAFIT, she infuses her teaching with a holistic approach that transcends traditional piano lessons. In her writings for Skoove, Susana combines her rich musical knowledge with engaging storytelling, enriching the learning experience for pianists of all levels. Away from the piano, she loves exploring new places and immersing herself in a good book, believing these diverse experiences enhance her creative teaching style.
Published by the Skoove team